
Furniture Quality Control: What Buyers Should Inspect
Knowing the how Can Importers Ensure The Furniture Meets Quality Control Standards. Common problems and solutions in furniture manufacturing. Furniture Inspection Report. Lab Furniture Testing. Standards of Furniture Inspection. Solutions for Received Substandard Furniture.

Furniture quality control should compare the production item with an approved project reference. “Looks good,” “standard furniture quality” and an inspector’s general experience are not precise acceptance criteria. The working reference should identify the product, the current specification revision and the requirements that apply to that SKU.
For flat-pack furniture, an isolated surface check is not enough. Components, holes, connectors, hardware, instructions and the packed configuration have to work together. A useful pre-shipment inspection therefore follows the product from separate parts through assembly, appearance review and final pack-out, while retaining evidence that a buyer can trace to the inspected unit and document revision.
Start Furniture QC with the Approved Specification
Before inspection begins, identify the current approved specification, drawing where applicable, component list, material and finish references, hardware list, assembly information, packaging requirements and approved change record. The inspection plan should state which document controls each checkpoint. If two references conflict, close that conflict before an inspector assigns a pass or fail.
An approved sample can help interpret color, finish, proportions or assembly details, but it should not silently replace the written specification. A temporary correction made to a sample does not become a production requirement unless it is documented and approved. Likewise, a later drawing revision should not be judged against an earlier sample without a recorded decision about which reference controls.
The broader Furniture Sourcing Guide explains how specifications, development, supplier evaluation, packaging and production readiness fit into one sourcing program. This article stays with the narrower question: how to compare flat-pack furniture with its approved reference and record the inspection result.
Inspect the current revision: In HOMVND Furniture Evidence Case 01, splitting one panel into two and later three parts changed the components, connectors, quantities and assembly sequence. QC must therefore inspect against the current approved version—not an earlier manual or BOM. Review the version-controlled engineering evidence.
Inspect Components Before Assembly
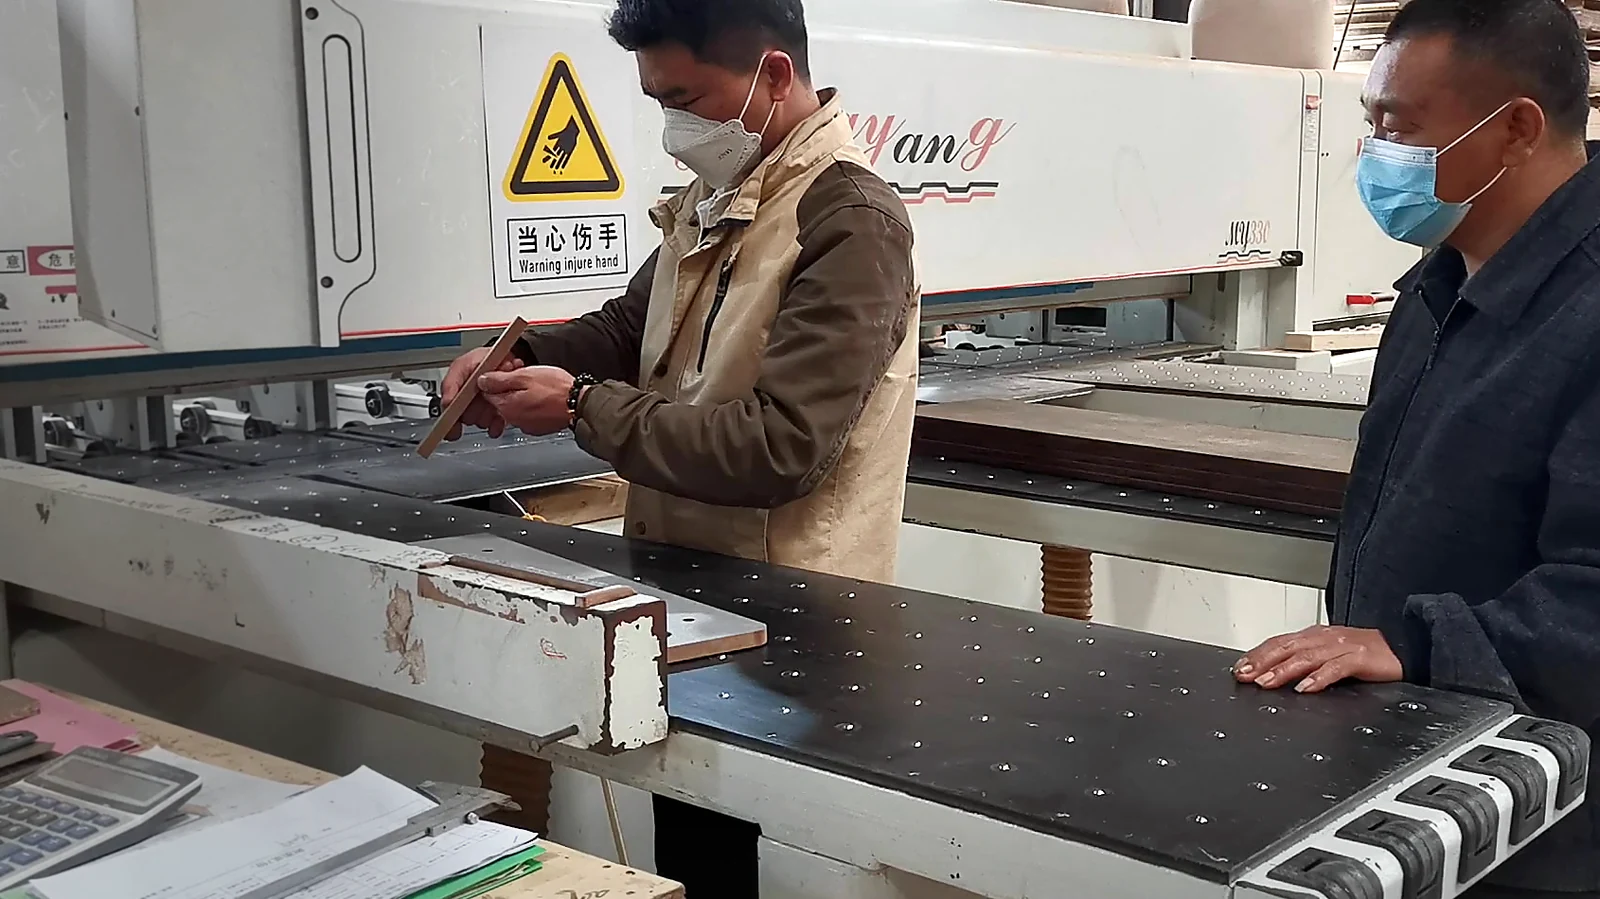
Inspecting components while they are separate makes identity and interface problems easier to see. Depending on the product, the set may include panels, shelves, doors, drawers, frames, legs, rails, supports, upholstered elements or other SKU-specific parts. Match each item to the current component list and confirm the required quantity before assembly starts.
Where the project specifies measurements, check dimensions at the named points and record the method used. Review visible damage, edge condition, surface or finish condition, orientation and hole or insert positions. Parts that look similar may not be interchangeable; a reversed panel, wrong rail or mismatched left/right component can remain unnoticed until later in the assembly sequence.
Component findings should be linked to a part code or clear description. “Panel damaged” is less useful than a record that identifies the SKU, component, location and photograph. The inspector should compare the finding with the approved requirement rather than create a tolerance during the inspection.
Check Hardware, Hole Positions and Part Identification
Compare screws, bolts, cam fittings, dowels, brackets, hinges, slides, inserts, washers and supplied tools with the current hardware list. Confirm identity, finish and count, then check that the same codes appear in the parts list, labels and assembly instructions. Hardware that appears almost identical can still use a different length, thread, head or tool interface.
Check holes, slots, inserts and connector locations against the drawing or approved reference where these positions are defined. Look for blocked holes, damaged threads, loose inserts and patterns that do not match the intended component orientation. The purpose is to verify the interface before it becomes hidden inside the assembled item.
If the project uses labeled bags, hardware-pack weighing, spare fasteners or part labels, the approved SKU record should define the method and any required quantity. These controls may help reveal missing or mixed parts, but they are not universal requirements and do not replace an assembly check.
Use Assembly to Verify Fit and Interfaces
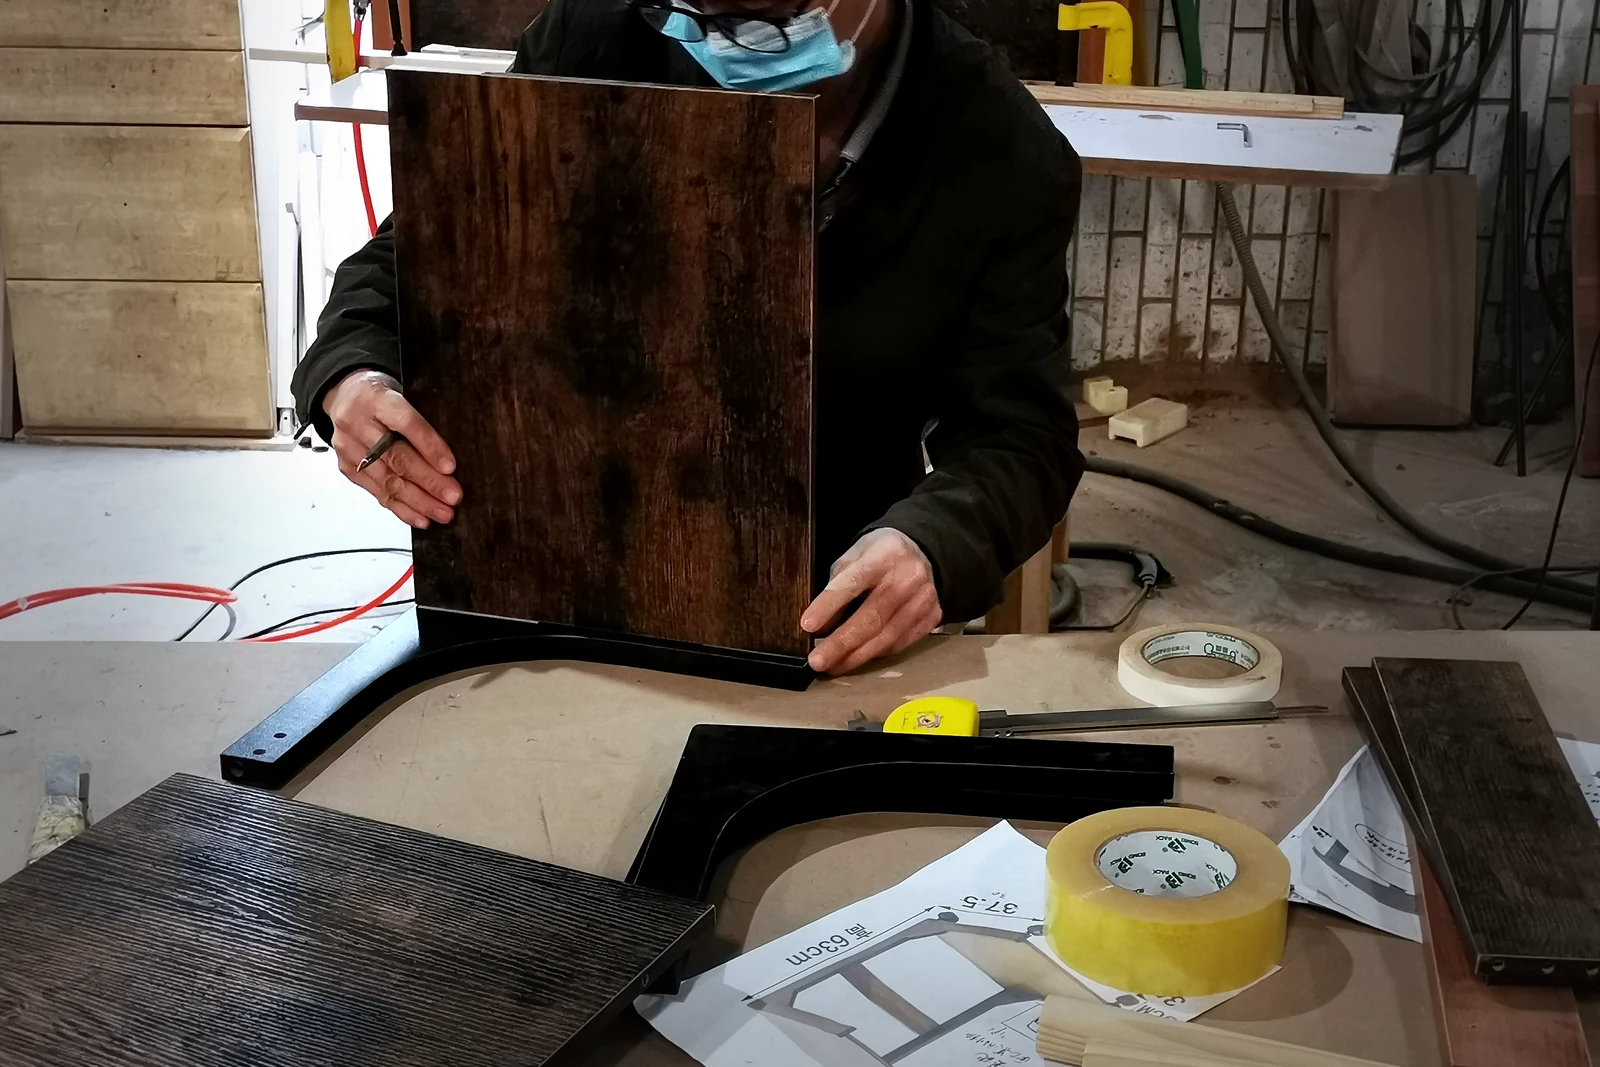
Assembly is a functional verification step for flat-pack furniture because it tests the relationships among components. Using the supplied parts, hardware, tool and current instructions, review hole alignment, connector engagement, part orientation, sequence and the amount of force needed to bring interfaces together. Record forced alignment, substituted hardware, inaccessible fasteners or any step that cannot be completed as documented.
After assembly, check that panels and frames meet as specified and that applicable doors, drawers, shelves or adjustable parts fit and operate in the intended positions. Observe whether the item sits as expected on the inspection surface and document movement, gaps or misalignment for project review. Safety, stability or load conclusions require the test method and limits agreed for that product; an ordinary assembly review should not be presented as proof of universal performance.
The assembly record is more useful when it identifies the unit, specification and manual revisions, assembler, date, findings and disposition. Photos should show the relevant joint, hole, connector or alignment point. A distant photograph of a completed item does not by itself demonstrate that every interface was checked.
Inspect Appearance and Finish After Assembly
Review appearance at component level and again after assembly. The assembled item can reveal gaps, uneven panel relationships, visible edge damage, marks around fasteners or hardware that is exposed differently from the approved reference. Under consistent viewing conditions, compare customer-visible surfaces, colors, finishes and edge treatment with the named sample or specification.
Record scratches, chips, dents, stains, finish variation and alignment findings by location. For doors and drawers, include visible relationships and operation where applicable. For upholstered or covered products, include seams, loose threads, wrinkles, covering condition and transitions around edges or openings. Acceptance remains tied to the project reference; “premium finish” is not an inspection criterion.
Treat Packaging as Part of Final QC
QC should continue through the packed unit. Confirm the carton contents against the packing specification: the correct components, hardware bag, instructions, labels and any project-defined accessories. Review the packing order, internal protection, separation between vulnerable surfaces and the final configuration. If carton dimensions, packed weight or markings are controlled values, compare them with the approved record.
A pack-out review can also expose revision errors. The product may assemble correctly from parts prepared for inspection while the regular carton still contains an older manual, a mismatched hardware bag or a previous component revision. Where the QC plan requires it, tracing a selected packed set through content verification and assembly gives the buyer stronger evidence about the shipped configuration.
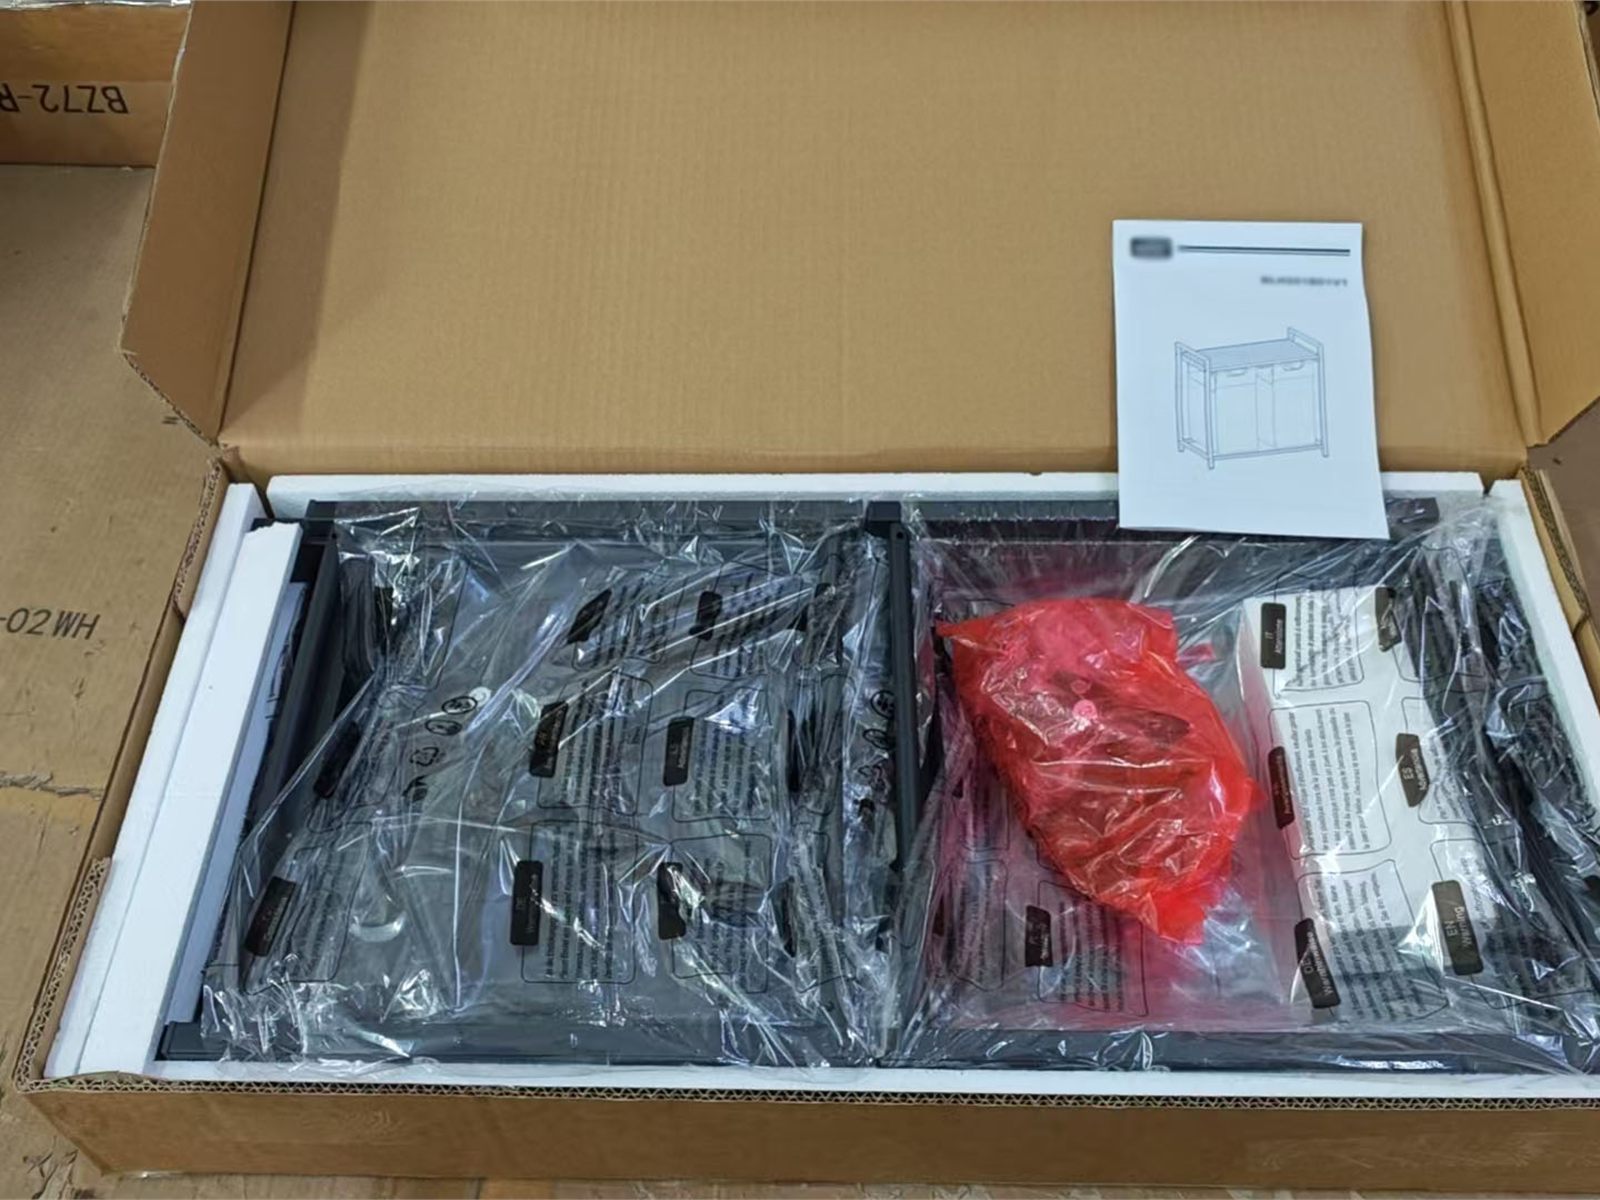
This checkpoint does not establish damage-free delivery, drop-test performance, regulatory compliance or a packaging optimization result. Those claims require evidence for the exact carton, product, route or test scope. In this QC framework, packaging is limited to whether the inspected pack-out matches the approved project requirements.
What Inspection Evidence Should Buyers Receive?
Inspection evidence should let a buyer understand what was checked, which reference was used and how a deviation was handled. Depending on the project and inspection scope, the record may include checklists, measurements, labeled photographs, an assembly record, pack-out evidence and a nonconformity or recheck record. The required package should be agreed before inspection; it is not identical for every order.
| Inspection area | Reference | Useful evidence |
|---|---|---|
| Reference control | Approved specification, sample and revision record | Dated reference list and approval record |
| Components | Component list and project specification | Inspection record and part-identified photos |
| Dimensions | Current drawing or specification | Measurement record with named check points |
| Hardware and holes | Hardware list, drawing and manual | Count/check record and close-view photos |
| Assembly | Assembly information and approved product reference | Assembly checklist, findings and interface photos |
| Appearance and finish | Approved finish reference or sample | Location-specific photos and disposition |
| Packaging | Packing specification and marking requirements | Pack-out photos, content check and required measurements |
Evidence should identify the SKU or inspected unit, document revision, inspection date and decision owner. If a deviation is accepted, record the specific scope of that acceptance. Otherwise, a one-time decision can be mistaken for a permanent change or applied to another SKU without approval.
Furniture QC Checklist Before Shipment
Use this list to build the project inspection plan, then replace each broad item with the product’s named checkpoints and acceptance references.
- The current approved specification is identified.
- The approved sample or finish reference is identified.
- Approved revisions are reflected in inspection documents.
- Component identities and quantities are checked.
- Required project dimensions are measured and recorded.
- Hardware identity, count and supplied tool are checked.
- Hole positions, inserts and interfaces are reviewed.
- A project-defined unit or set is assembled and reviewed.
- Appearance and finish are reviewed after assembly.
- The manual, labels and packed parts use consistent codes.
- The final packaging configuration is reviewed.
- Inspection evidence and deviation decisions are retained.
The checklist does not define a sampling ratio, defect classification, tolerance or shipment decision by itself. Those controls need to be agreed for the project and applied to the recorded findings.
How QC Fits into the Furniture Sourcing Process
Furniture QC is one control point in a larger process. Product definition, sample approval and revision control establish the reference; the inspection compares production with that reference; and any accepted change should return to the controlled documents. Supplier selection, pricing, MOQ, product-range planning and logistics remain separate commercial or sourcing decisions.
A useful QC result is therefore not a broad statement that the furniture is “high quality.” It is a traceable decision showing which product and revision were inspected, which checks were completed, what differed and who accepted the result before shipment.
After the inspection framework is defined, use the category hub for current furniture product discovery.
Explore Furniture Collections